Monday 25 February 2013

Living Room Inspiration

I have a confession to make. I have been bitten by the constant re-decorating bug! Help!

I just did a mini makeover of my living room with drop cloth cushions and a drop cloth lamp shade. But I still felt that there was something missing. 

How about a gallery wall? The photos from our recent Europe trip were still waiting to be put up somewhere. 

Here's my inspiration…I love the neutral palette of pottery barn living rooms and the fact that introducing something new just changes the entire look and feel of the room.

This is probably my most favourite photograph! I love the black and white photographs behind the sofa and the neutral earthy tones.

Again I love the large frames behind the sofa, they add interest to the room.

Neutral sofa! Loving the beige.

Again neutral but maybe a bit too minimalistic for our home.

Love the use of colour, patterns and textures in this living room. And adore the frames. But maybe a tad too colourful for me.

Framed maps, such a statement!

Cool and calm living room, again the focal point behind the lounge!


And this is my current living room…

Current adjacent wall

So I went and bought some frames, printed out my photos in black and white and bought some plain white thick paper to use as matting for the frames. I spray painted a few accessories and moved some furniture around. It's coming together. Will post the photos of the complete makeover soon. 

Stay tuned!

Thanks so much for stopping by!

xox
Rani

Sunday 24 February 2013

Winner of the Personal Planner Giveaway Is…!

Hello there!
Hope you all are having a wonderful weekend! 

I'm back with the results of the giveaway. Thank you all for participating and I wish I could give each and every one of you a personalised planner!

But there can be only one winner and the lucky winner to receive a personalised planner from PersonalPlanners is 
…drum rolls please…

Please send me your email address and you should receive a gift certificate email from Personal Planners in your inbox soon.

I'll be back soon with another awesome giveaway soon…

Thanks so much for stopping by!

xox
Rani

Thursday 21 February 2013

How To: Re-tint and varnish antique wooden furniture?

This post is aptly titled 'How To: Re-tint and varnish antique wooden furniture' because that's exactly what I'm wondering! How do I RE-tint and varnish this piece of furniture?

Why do I do this to myself all the time? My husband thinks I am a sucker for punishment! And I kind of agree. It would be so much easier to go to a store and buy what I like, love and want! And also if money grew on trees! But I do what I do because I love that warm fuzzy feeling of seeing a difficult project through, witness a transformation no matter how challenging and feel that sense of accomplishment that is second to none!  

Do you know what I mean…? I'm sure you do otherwise you wouldn't be reading this post right now!

Well, here's the story…

Last weekend, we went for a drive. And I spotted an antique store on Mt Alexander Road. I went into the store to just browse and window shop and came back with a beautiful antique art deco chest of drawers. Heheeehee!
Safe to say that my husband will be avoiding that road for a very long time!


I love the style of the dresser. (The drawers are currently stored in the garage) It's made of solid wood and very heavy. But it's an ugly dark pinkish mahogany tinted colour! I tried sanding it but the pinkish stain is just not coming off! 

I want to paint it a beautiful aged dark walnut colour and replace the wooden knobs with bronze or black antique drawer pulls. Well, that's the challenge!


 I'm losing sleep thinking of how to get rid of the Mahogany magenta stain and varnish! Any pointers anyone?


I'm surprised it looks quite okay in the pictures. In reality it looks really BAD! 
This weekend, it's back to the drawing board with a foreseeable visit to Bunnings, our Australian hardware store for some heavy duty tint/varnish remover! 

Hopefully, I'll be back soon with a progress report. 
I'm going to get there eventually! Sigh! 


UPDATE TO POST:
Want to see how the dresser turned out? 

Thanks so much for stopping by!
xox
Rani

Tuesday 19 February 2013

Have a Happy Tuesday!

Hey All

Just popping in to say have a Happy Tuesday!

Lavender always makes me feel calm and relaxed on a busy day!


Dried lavender in my chippy old porcelain vase…


Botanical French rustic clay tags…I just made these and they are available for sale in my Etsy store…should you want to tie some to your chippy ol'vases… 


Have a great day and an even better week!

Don't forget to enter my giveaway…click here to enter!

xox
Rani

Monday 18 February 2013

Amazing Giveaway- Win Your Very Own Personalised Planner- Ends 24th Feb 2013

My name is Rani and I LOVE pretty stationary…there I said it! Yes, I spend hours in stationary shops like Typo and Magshop looking and flicking through all the beautiful notebooks, planners and journals. I just love them.

 Well, today I have a special giveaway planned for all of you! PersonalPlanners are giving away one special unique planner to a La Maison Jolie follower.

You could add some colour to your workday at the same time as making your planner more efficient and that more personal? 

Would you like to win one of these gorgeous personal planner? Hell Ya!!!
I checked out their website and was blown away with the planners with endless design possibilities! You can change colour, text and design on front/back cover as well as inlay. 

There are also clever boxes for the all important to-do list, gym session, preschool, idea of the week and weather. 

Friend’s and family member’s birthdays can also be added to the inlay directly from Facebook. 

AND They print and deliver the finished product directly to our your doorstep.  

 I made a list of things that liked about these planners:
  • Design the front/back cover
  • Tons of ways to design the inside to suit your style & needs.
  • Add friends & family members birthdays to the inlay 
  • Choose between 4 different sizes
  • You pick the start date. 
  • And best of all its fun and easy :)
Click here to visit their website and Facebook page.


Now what do you have to do to win a personalised planner?

Just 2 things!


1. Be or become a follower of La Maison Jolie (GFC button on top right hand corner of blog) and leave me a comment with your email address


Some Guidelines…
  • The winner will be picked on my birthday 24th February via the random generator
  • Once I pick the winner, Personal Planners will send the winner a gift card by email that can be used to design and choose any planner in any size. 
  • International entrants are accepted
  • Prize can not be exchanged for money


I love these personalised notebooks and planners…I think every blogger needs one. I usually make notes on paper napkins, my phone and scrap paper when creativity strikes in the middle of nowhere or during dinner in a restaurant! How convenient would it be to have a small notebook in my bag? And personalised with my name on it…stylish! And let's just say there are less chances of it going walkabout! 

Well, Good Luck all and let's get started on this awesome giveaway!

Good Luck & did I mention that this giveaway is open WORLDWIDE?!
xox

Thursday 14 February 2013

Happy Valentine's Day!

Popping in quickly to wish you all a very

Happy Valentine's Day!

May your day be filled with Love & Joy!

xxxxxxxxx


Don't forget to enter my birthday special giveaway on Monday 18th February!


Thanks for stopping by!

xox
Rani

Wednesday 13 February 2013

Vintage Industrial Timecard Holder

Hello All…Happy Wednesday! 

Firstly, thank you for the lovely comments on my Test Tube Bud Vase DIY Tutorial post. I was thrilled to read them all.

Secondly, I'm back with a one of a kind treasure that I picked up from a salvage yard on a late afternoon impromptu thrifting adventure with my husband. In case you are wondering we don't usually go thrifting and definitely not to any salvage yards. But we were passing by one and I saw lots of weird and wonderful things and the rest is history. I'll probably go back to the salvage yard again and again and again now!


I spotted a rusty but in great condition vintage industrial timecard holder and made a beeline towards it. As soon as I saw it I just knew it would look amazing hanging in our home as a mail holder on a blank wall in our long corridor. I haven't been able to find anything that would work on this wall, so this piece was just perfect!

Unfortunately, my husband considers old rusty things as definitely old rusty things and it takes a bit of work for me to show him the beauty in the rusty patina and help him visualise from what it is to what it could be. 

He tried to talk me out of it. But there was no way I was leaving without it! Fortunately, my husband's also a smart man, he knows which battles he just can't win and after a lot of hemming and hawing he conceded.


So, I'm pleased to say that the vintage industrial timecard holder came home with us!

As soon as we got home, I got him to put it up on the wall and guess what now he loves it! He's having fun being organised and purposeful by sticking all our mail into it (and I have been slyly taking out all the ones that don't look good).


The timecard holder originates from USA and was used in a factory in Cincinnati and even has one original time card in it along with the original numbers on the side and an IN and OUT sign. It's so amazing to have a piece of history in our home. 


The grey rusty iron really works against the white walls and the blank wall is no longer blank!  


I love adding touches of industrial design in the home, I think it adds character and makes it more interesting and eclectic. Last year I added two vintage metal milk crates to my decor and it looks fabulous. 


Now I just have to find out the age of the timecard holder. The salvage yard guy I bought it off said it was easily 60-80 years old. But I want to find out for sure. Hmmm this might take a while.

Do you have any interesting one-of-a-kind industrial pieces in your home? I would love to hear about it.

I'll be back soon with an amazing giveaway. So watch this space!


Thanks so much for stopping by!

xox
Rani

Monday 11 February 2013

Test Tube Bud Vase DIY Tutorial

Hello there…hope you all are having a great Sunday!

I'm popping in today with a short tutorial on a Test Tube Bud Vase. 

I have been seeing bud vases everywhere - on Pinterest, home decor stores and then I saw one on Shanty2Chic that I loved. 

And with Valentine's Day approaching, I knew I had make me one of those!

To start off, I sketched out a rough design and made myself a mini shopping list. Then I ordered the test tubes online via Etsy and waited impatiently for them to arrive and finally they did on last Friday. Woot woot!

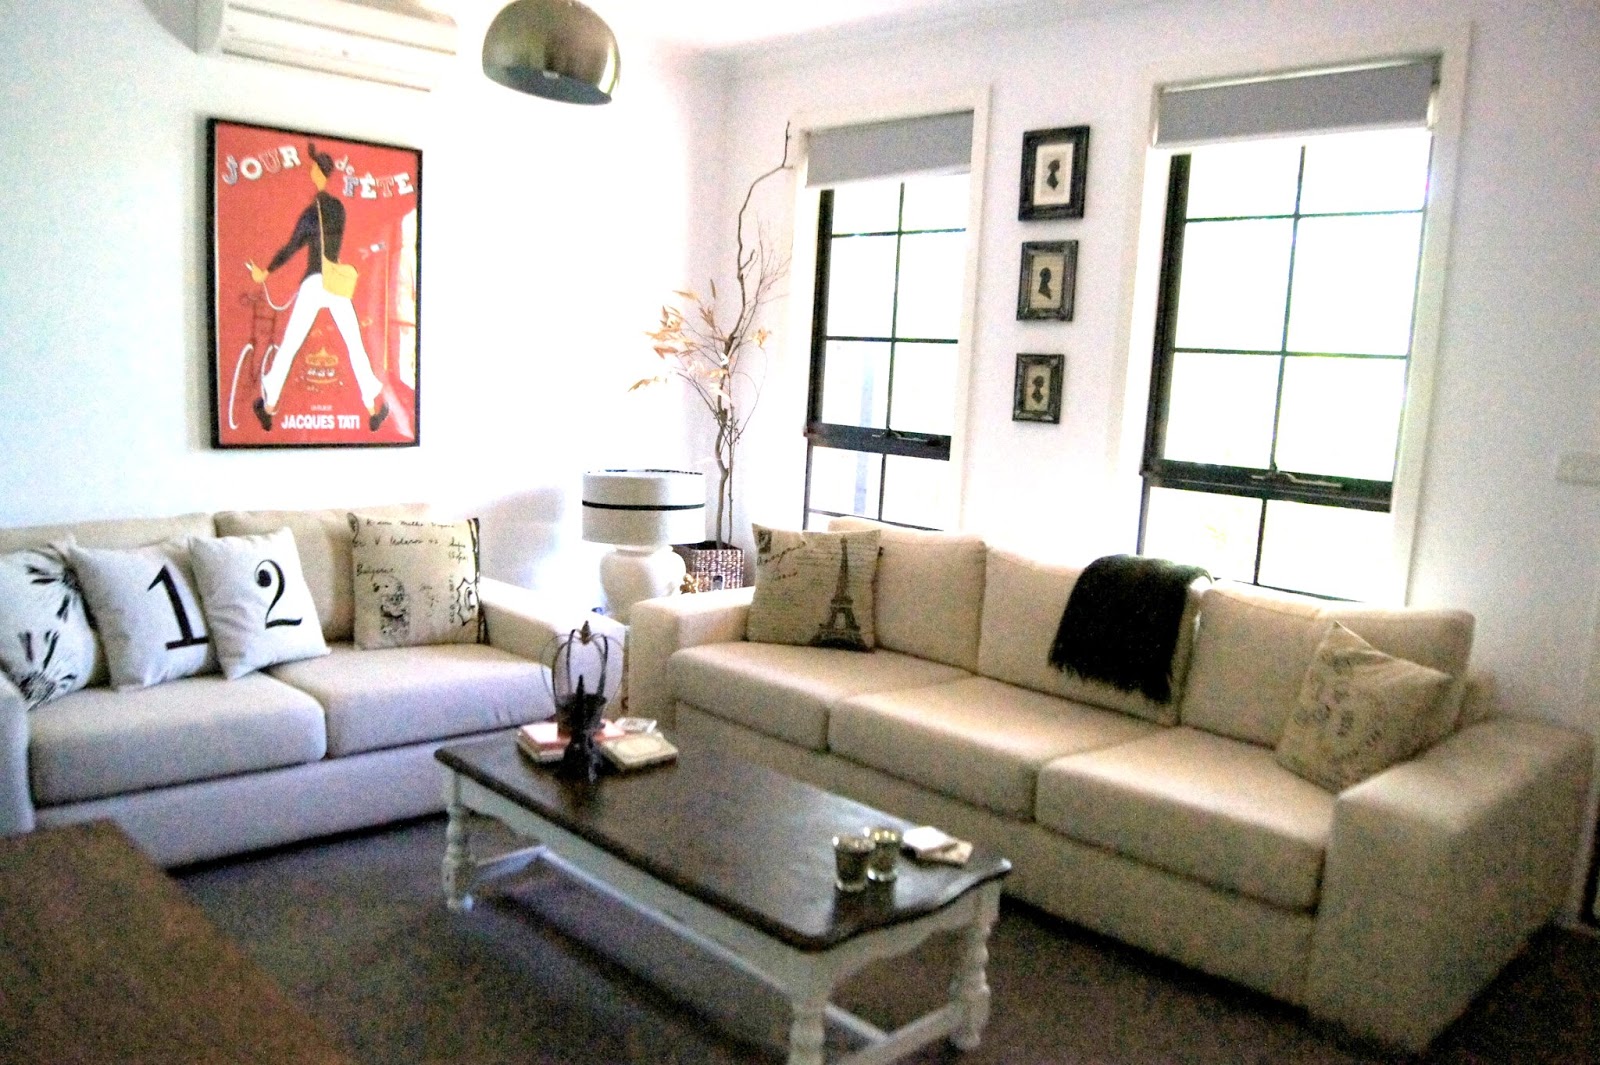
On Sunday we were expecting a couple of our close friends to drop by for some afternoon tea and I wanted to dress the dining room up a bit, well there you go… there's my perfect excuse for some quick and easy DIY home decor! 

So on Saturday, we headed off to Bunnings (our local hardware one stop shop…it's the Australian version of Lowe's, I think) to pick up the supplies, came back and it was all done in less than 1 hour. I had to leave it overnight for it to dry. And I must have checked on it twice at night. I just couldn't help myself… I'm an impatient soul!


So here's a short tute on how you can make one too.

Supplies you will need to make the perfect Test Tube Vase:-

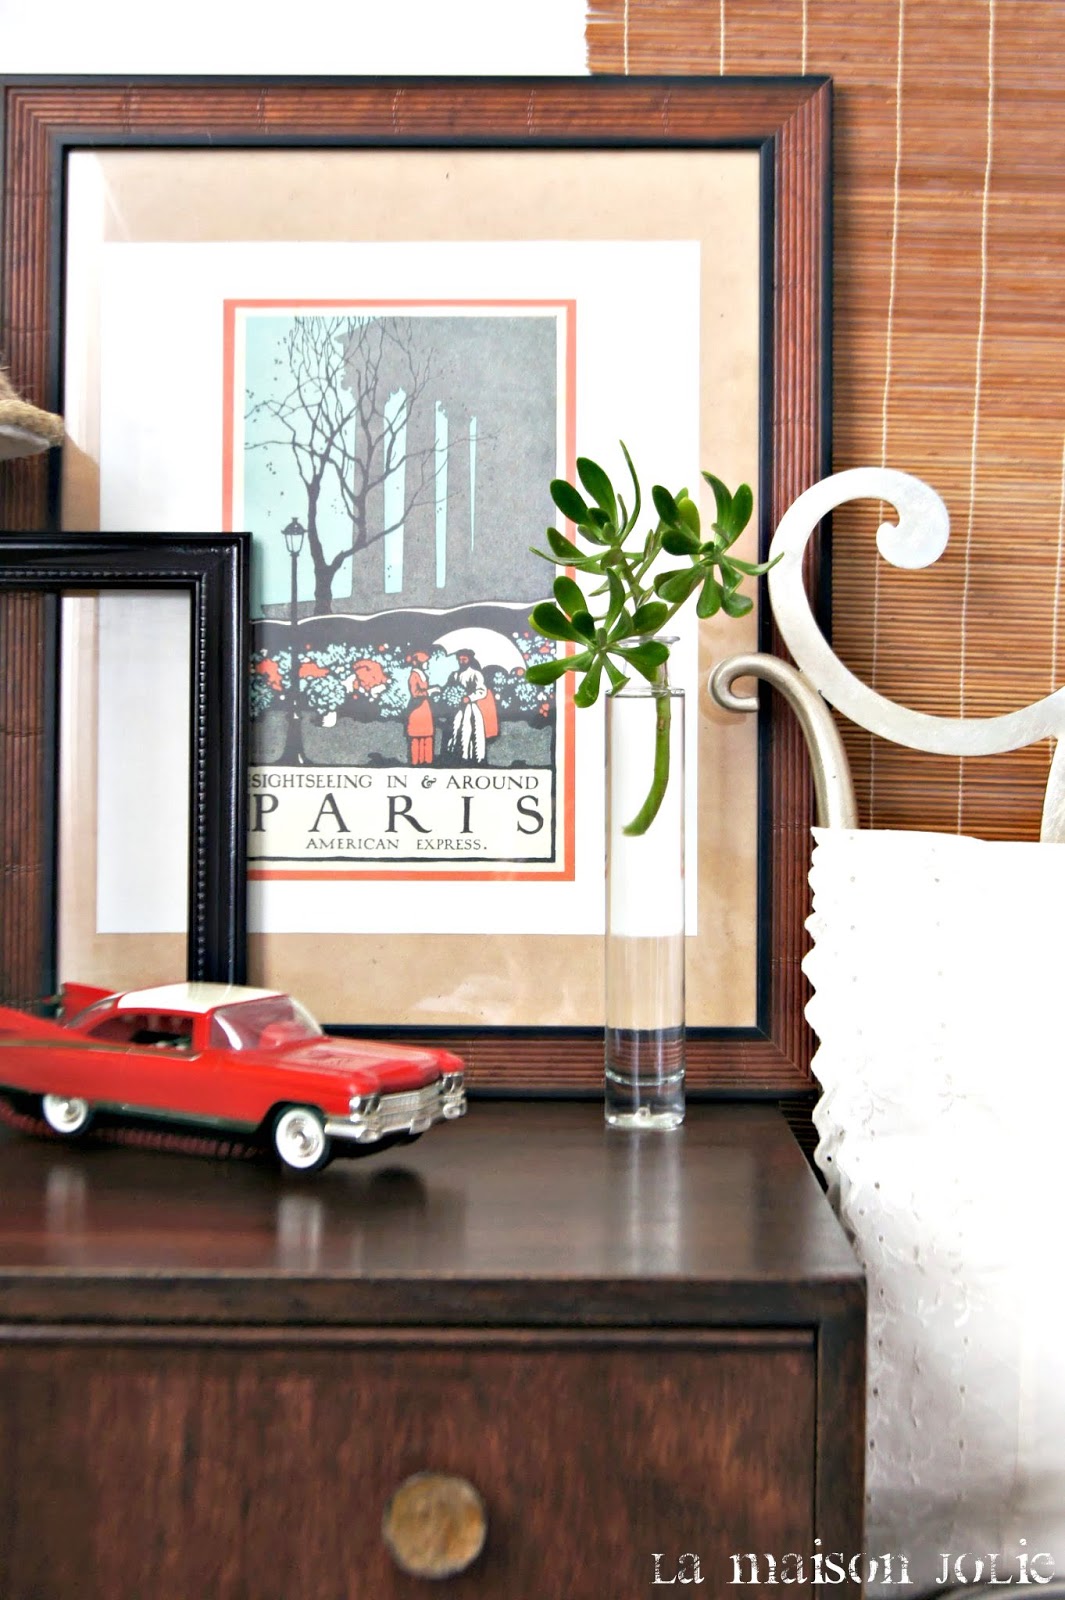
1. Glass test tubes with flat bottoms…I ordered 6 via Etsy ($10)
2. Piece of timber, untreated and ensure it's thick enough for the test tubes (Free from Bunnings as it was scrap wood)
3. Size 25 wood drill bit or depending on the size of test tubes (Investment purchase)
4. Black wood stain ($1.00 worth used. Had this in the garage)
5. Sand paper for distressing (Had this from previous project)
6. Danish Oil for sealing and shine ($2.00 worth used. Had this in the garage from previous projects)
7. OPTIONAL - 1 husband (who is helpful but grumbles constantly about missing out on watching a game on TV!)

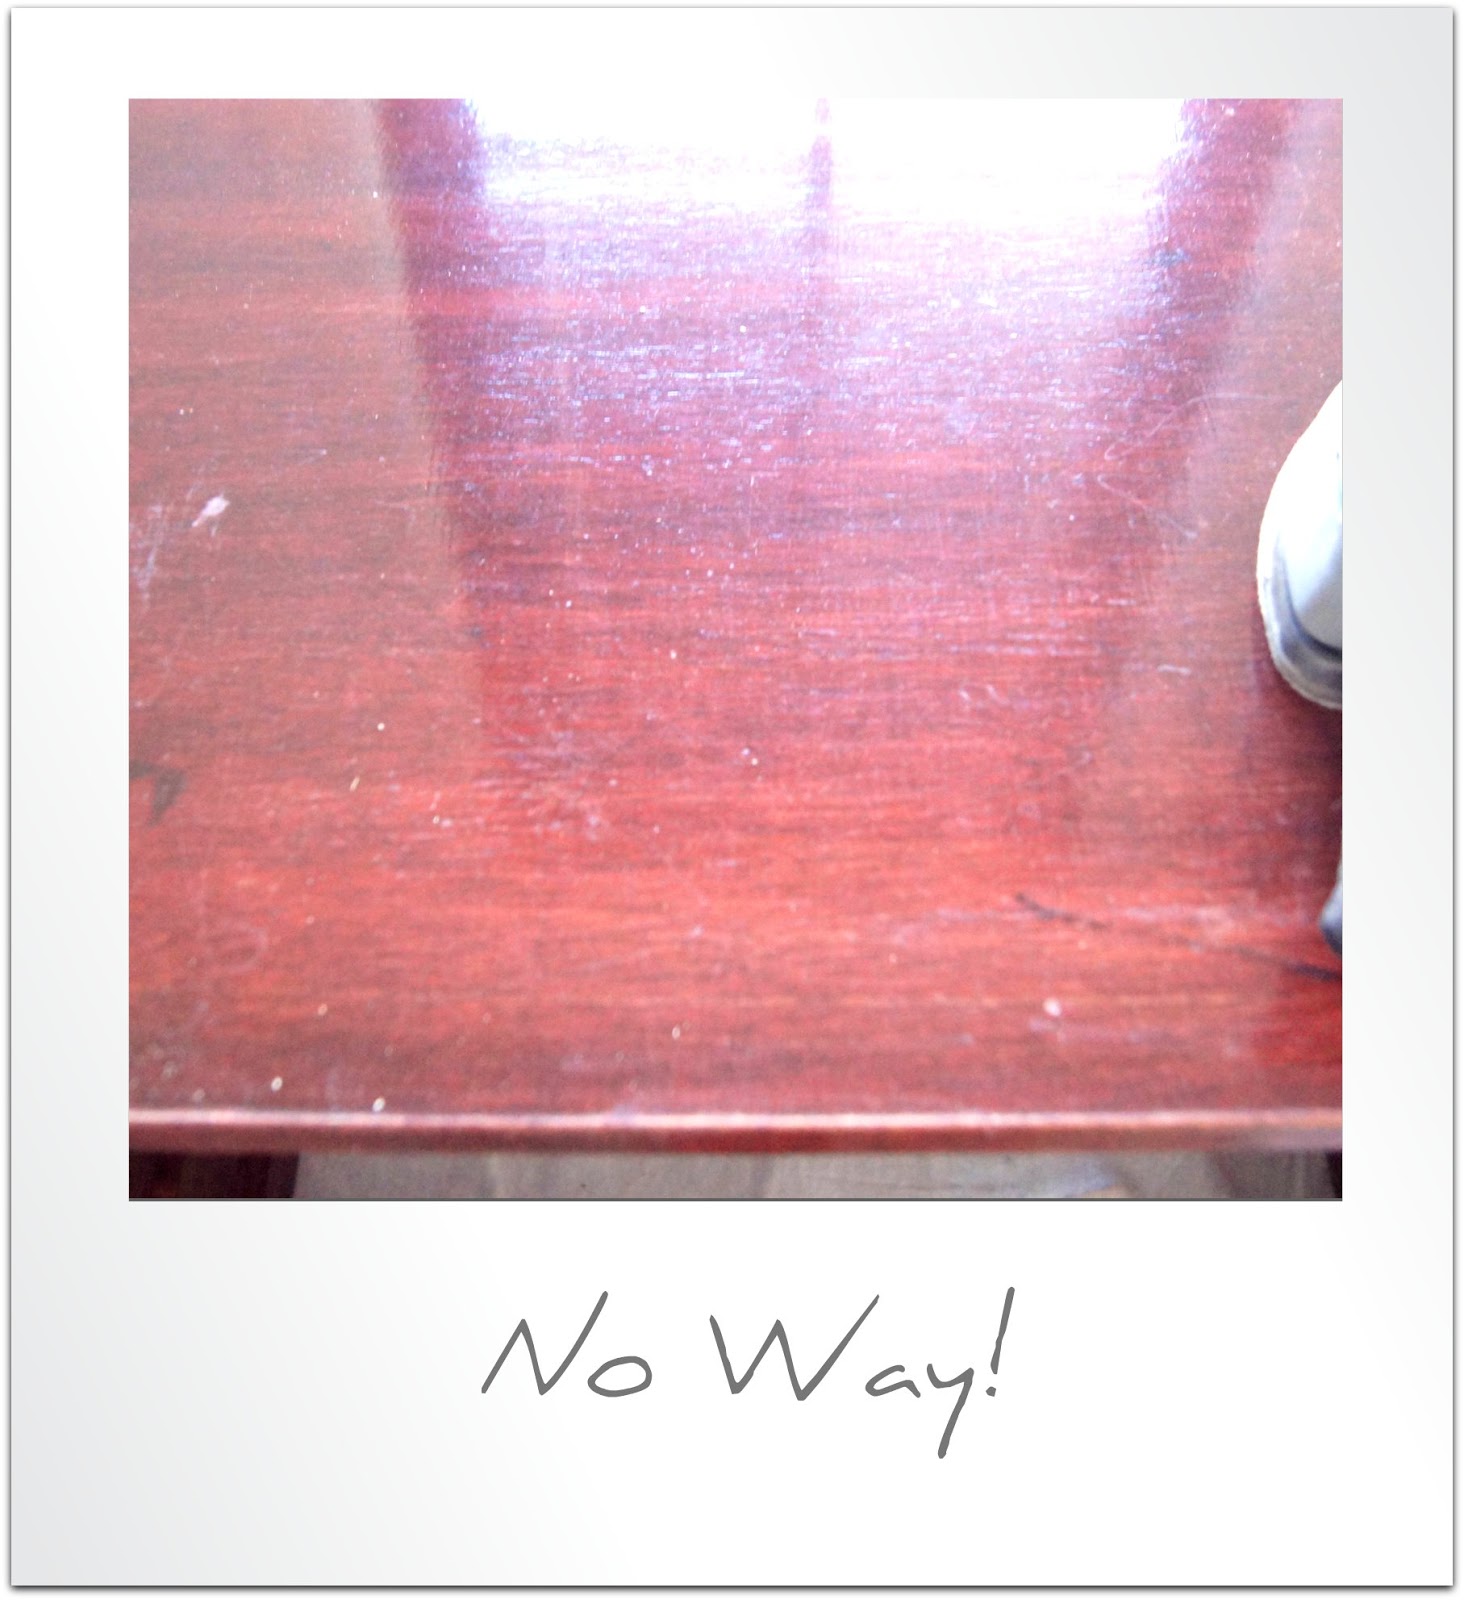
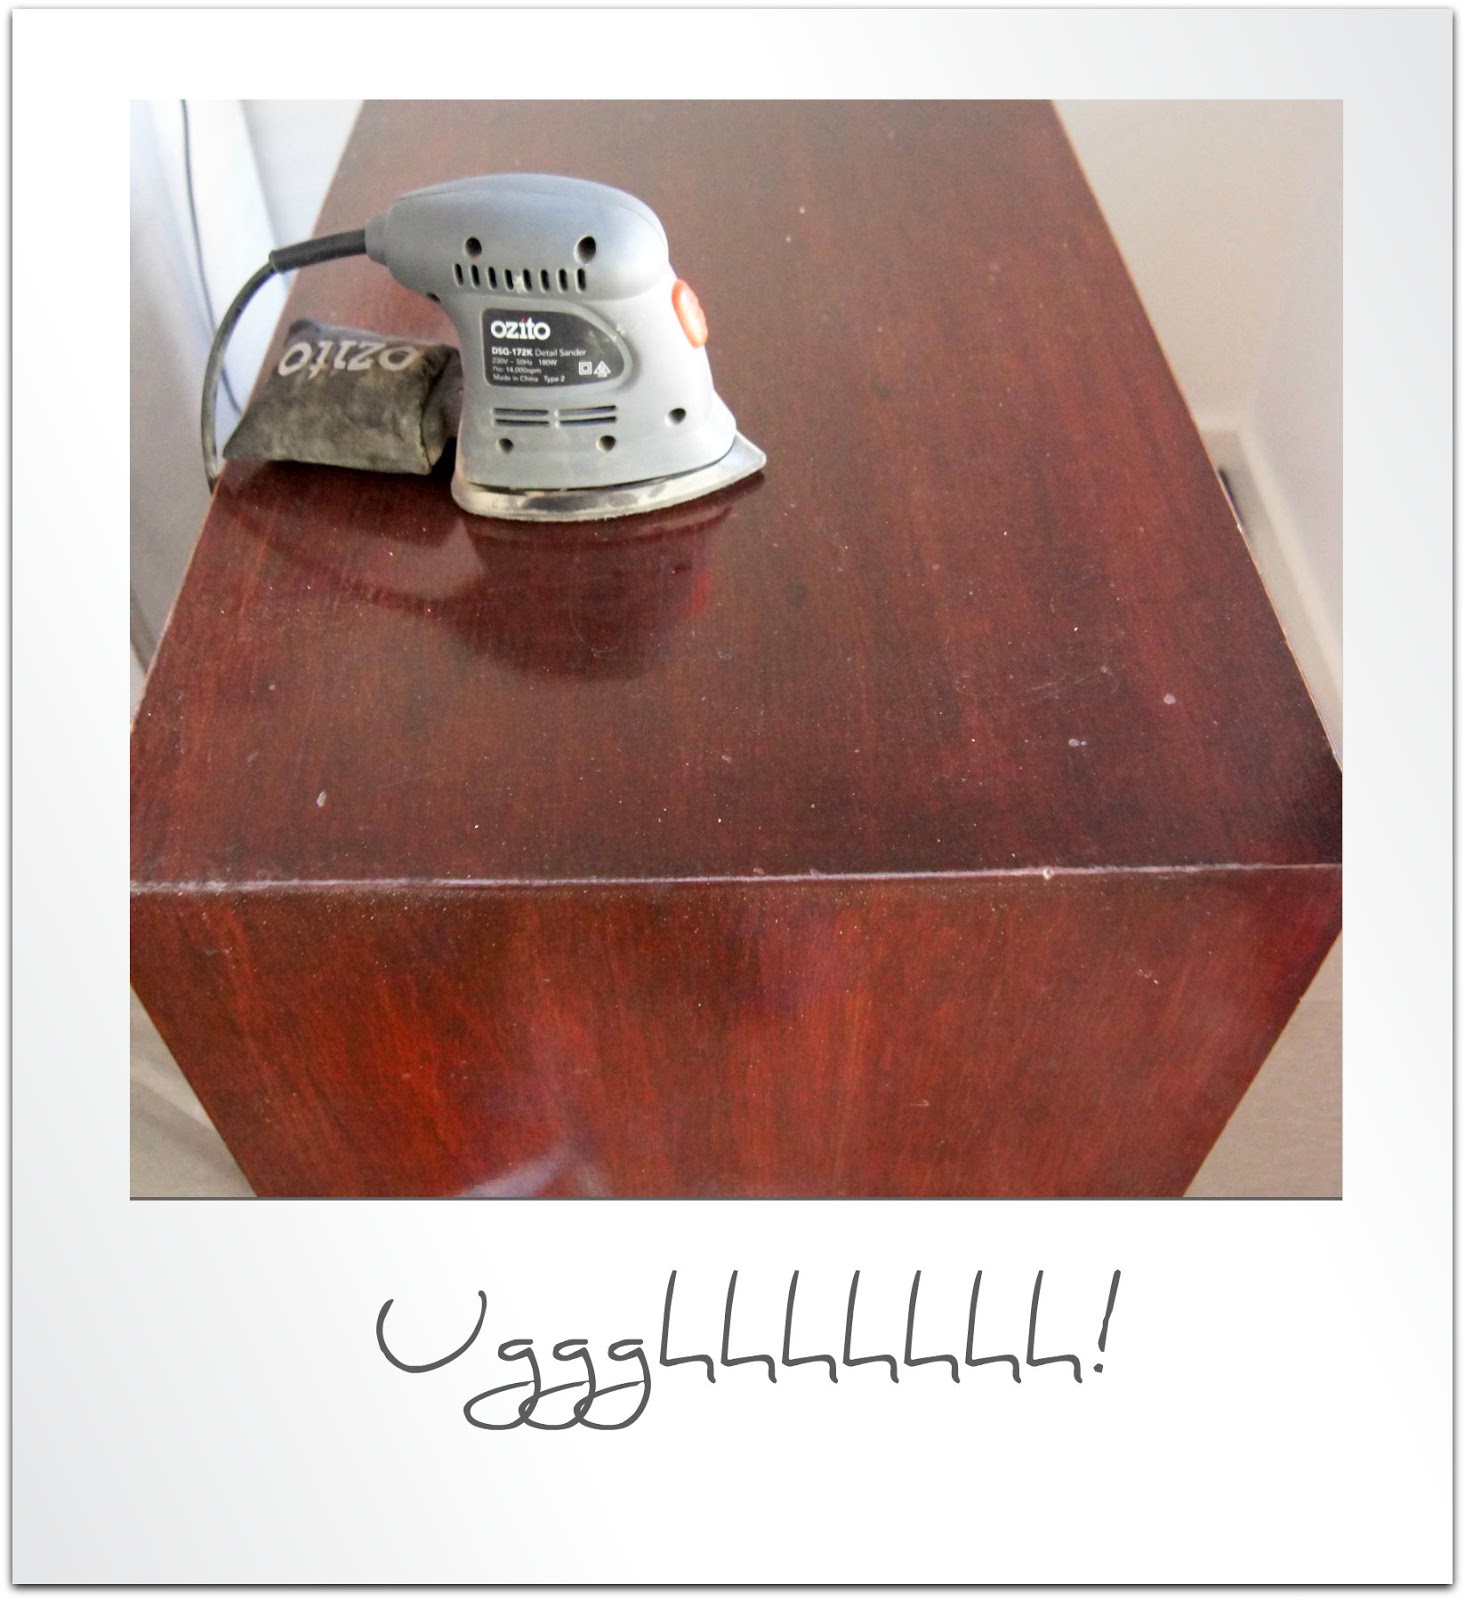
So Step 1 - Measure, mark and drill 6 holes with the drill bit
Step 2 is to stain, distress, seal with Danish oil and leave to dry

And Sunday afternoon just before our friends arrived, I put it together with some flowers and frilly drop cloth runner (my first attempt at sewing frills)!


For $13.00, I'm pretty happy with my Test Tube Bud Vase!

The pale pink flowers are so pretty and they were wild and free! I have no clue what they are called. 


 It was the perfect weather today to take gazillions of photographs!


As you can see the wood has a few dints and dips…imperfectly perfect for me!


The holes turned out to be the perfect size for the test tubes. They fit in snug.
Important note: To avoid extra costs or 'investment purchases' check the size of the drill bit you already have and then order test tubes or you could 'wing it' like me…order the test tubes and then go hunting for the drill bit with a grumpy husband! 
Well you know how it goes! :-) 


There's my drop cloth runner. I'm planning on adding a couple of lines on it to make it look like a grain sack.


Don't you think fresh flowers give any room a positive vibe?!


Simple but just right for our dining room. 


Perfect for Valentine's Day…I can picture it with lovely pink rosebuds or buttery yellow ones or even some lovely orchids? 
Or how about some long tapered silver or golden dinner candles? That would look so romantic


So there you go, that's my version of a Test Tube Bud Vase! 
I would love to see some of yours!

I hope you enjoyed the tutorial.

I will be back soon, with a few treasures I picked up at a recent thrifting adventure.

Thanks so much for stopping by!

xox
Rani


async defer data-pin-hover="true" data-pin-tall="true" data-pin-round="true" data-pin-save="false" src="//assets.pinterest.com/js/pinit.js">